
DIY: Painted Trim for a Fresh Look
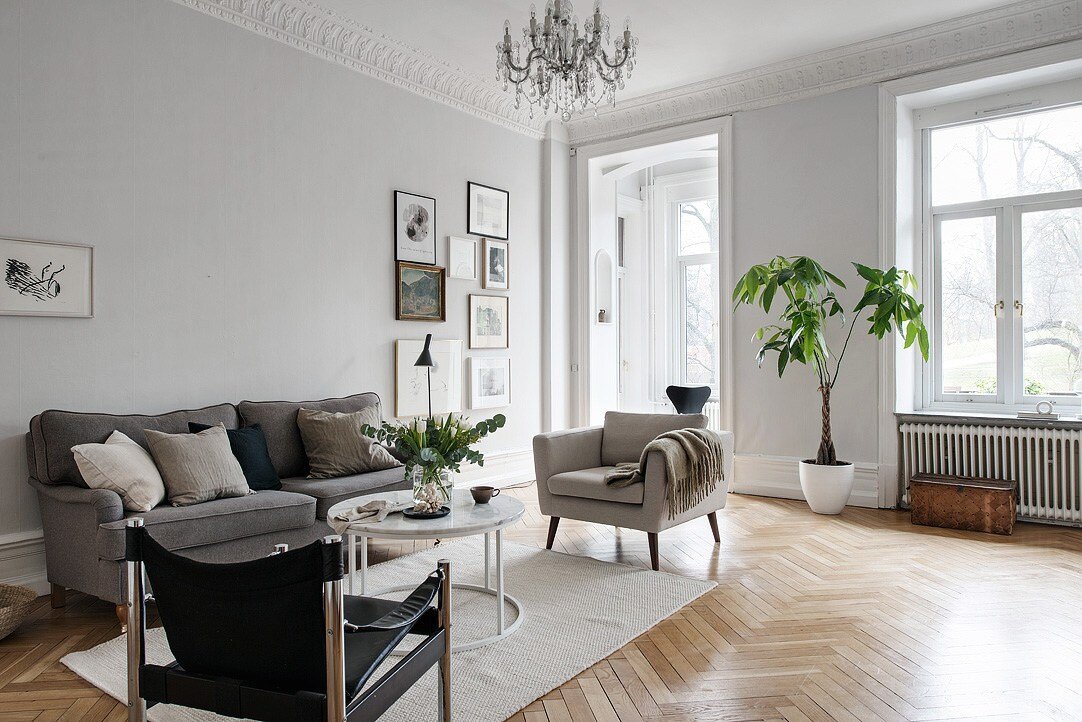
As you probably know, paint is one of the easiest ways to refresh a room - and that applies to the trim just as much as the walls. White trim, in particular, has a tendency to make a room feel brighter, bigger, and more open. White trim is timeless and it provides a clean appearance that always looks new and fresh. The images below showcase how white trim can enhance and brighten a space by magnifying the room's natural light, even when the wall color is dark!


Every surface in our home was once a lovely shade of brown. The walls, the floors, the cabinets and the trim, all brown. I have been slowly painting our trim white and the effort is so worth it! I know some think that painting wood is a sin and in some cases, I agree that wood should be left alone. I'm also a firm believer that you should do what makes you happy in your house. We prefer the look of white trim and much to the wood lovers' chagrin, I have gone to town with my trusty paintbrush and favorite trim paint.
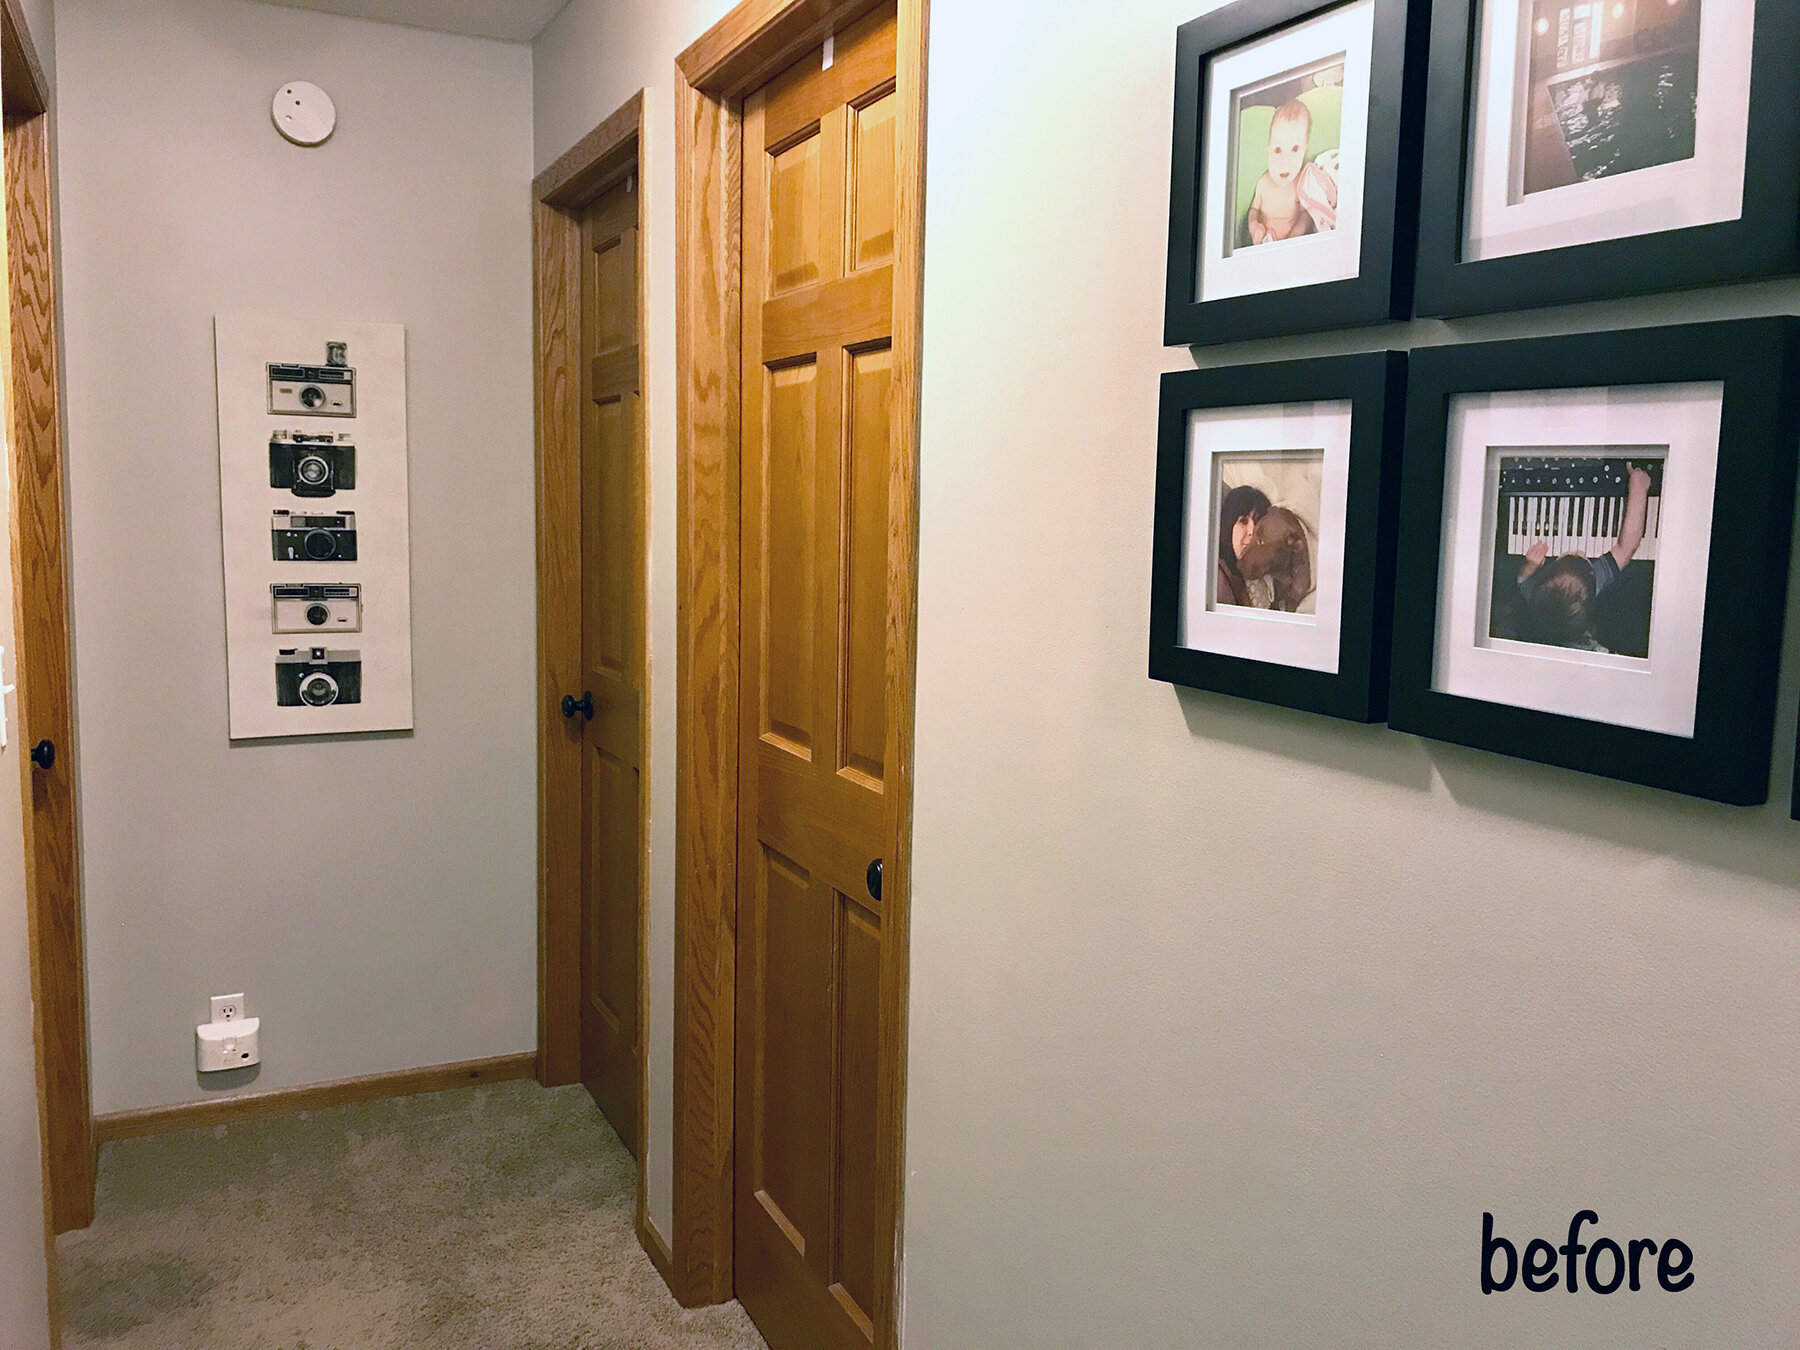
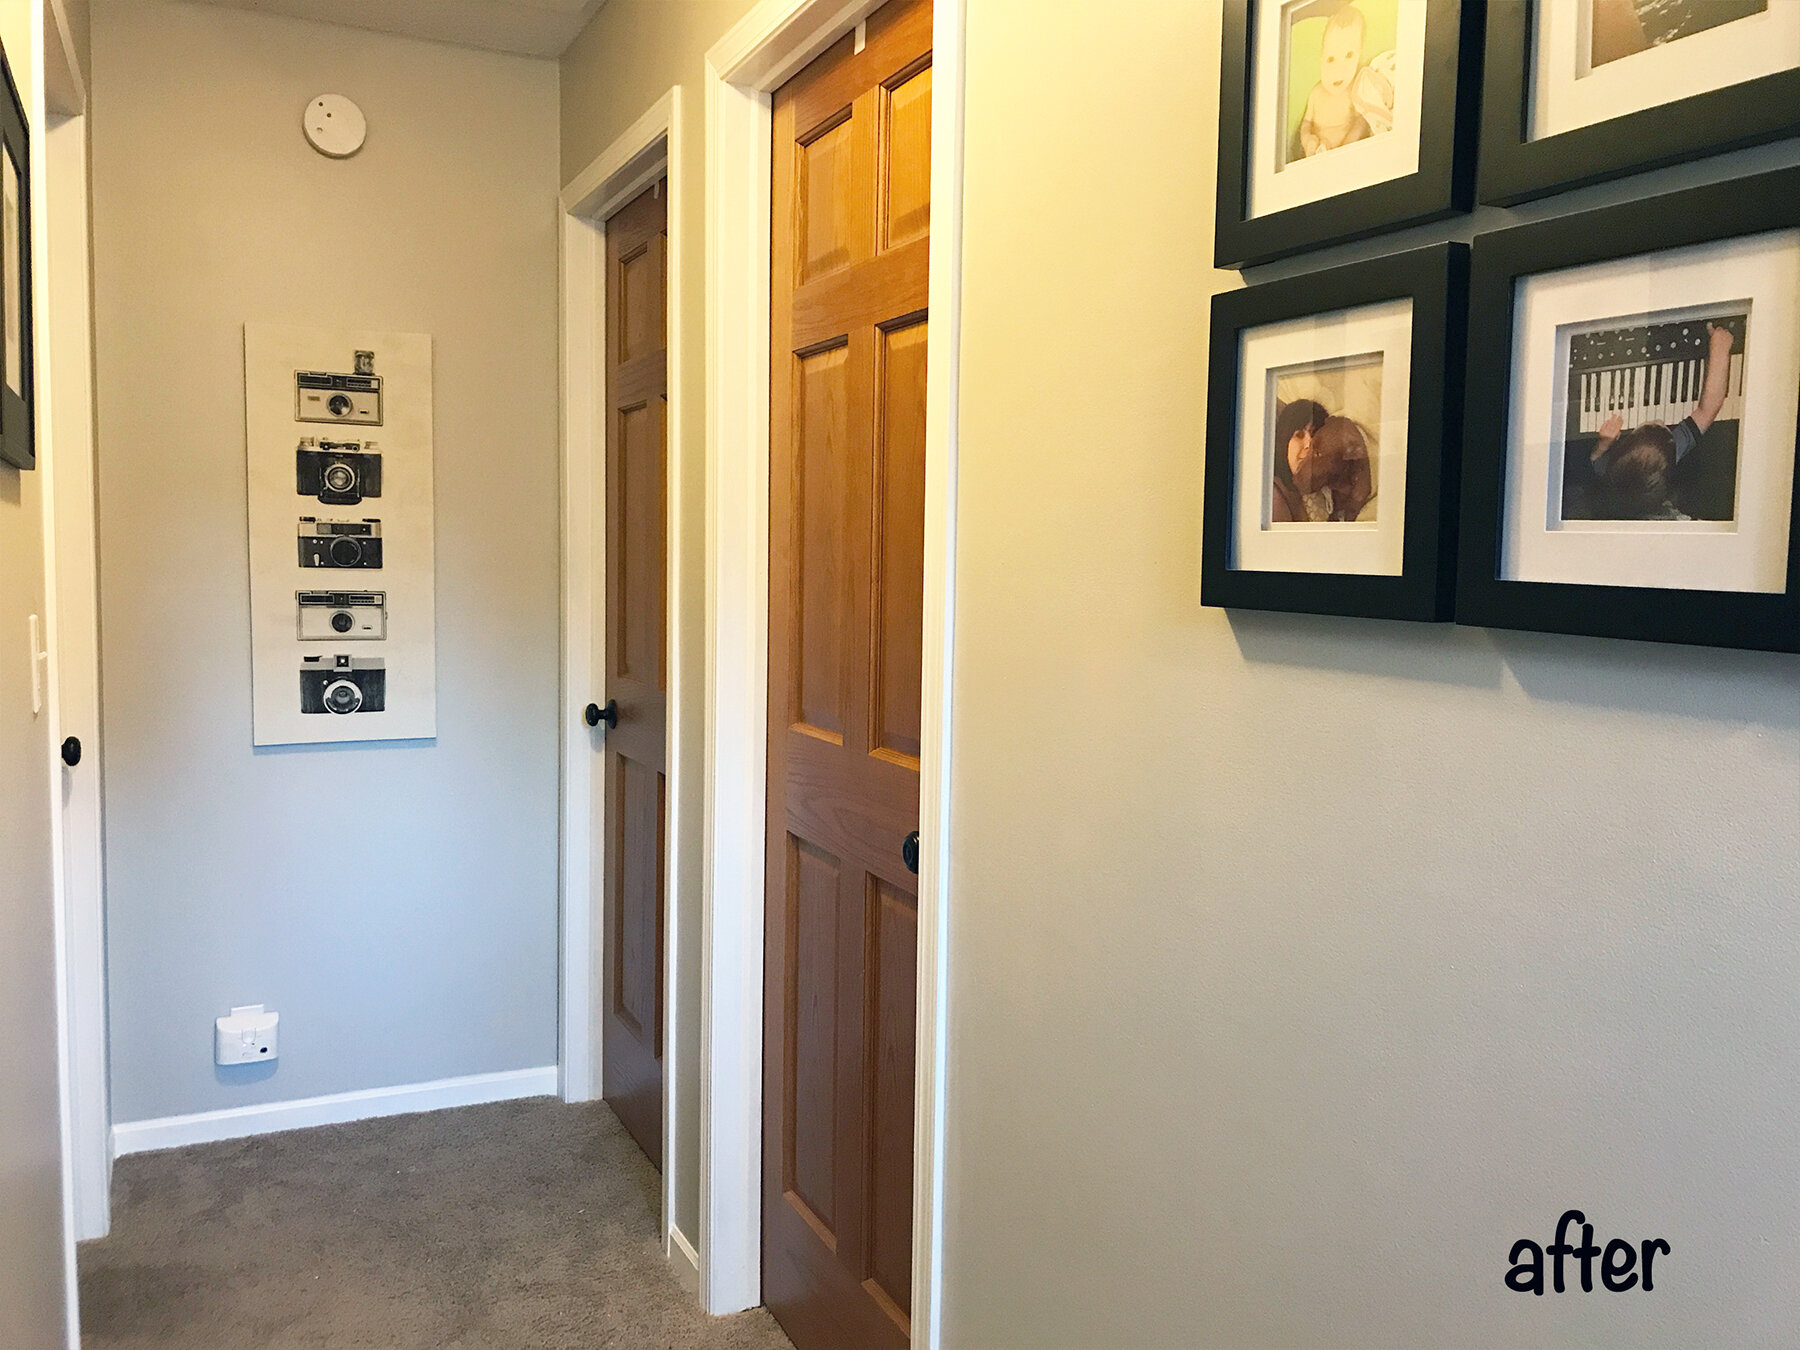
This hallway has one window so it does get some natural light, but I wanted to freshen things up a bit. I'm here to share some tips and tricks for those of you who may be contemplating painting your trim. Hopefully, this will serve as encouragement to just go ahead and do it!
Supplies:
- INSL-X CabinetCoat Trim & Cabinet Enamel - 1 gal
- paint brush (my all-time favorite brush)
- Plastic Wood or other wood filler
- white paintable caulk (& caulk gun)
- painters tape
- large putty knife (optional)
- 320 grit sandpaper
Some people recommend removing the trim from the wall, paint, and then reinstalling, but I prefer to paint it while it's still attached. The first thing I did is prep the floor for paint. I do not tape off my walls, but I do tape off my floors when painting the base trim. If you are painting trim on a hard floor (tile, hardwood, laminate, etc) I would recommend laying a strip of painters tape along the seam where your trim meets the floor. This will allow you to get a nice, clean line and protect your floor from your brush.
If you are painting the base trim in a room with wall to wall carpet, as I was this time, I would recommend taping the edge of your carpet. To protect my carpet from wet paint, I laid a strip of tape along the edge of the carpet with a slight overlap onto the trim.
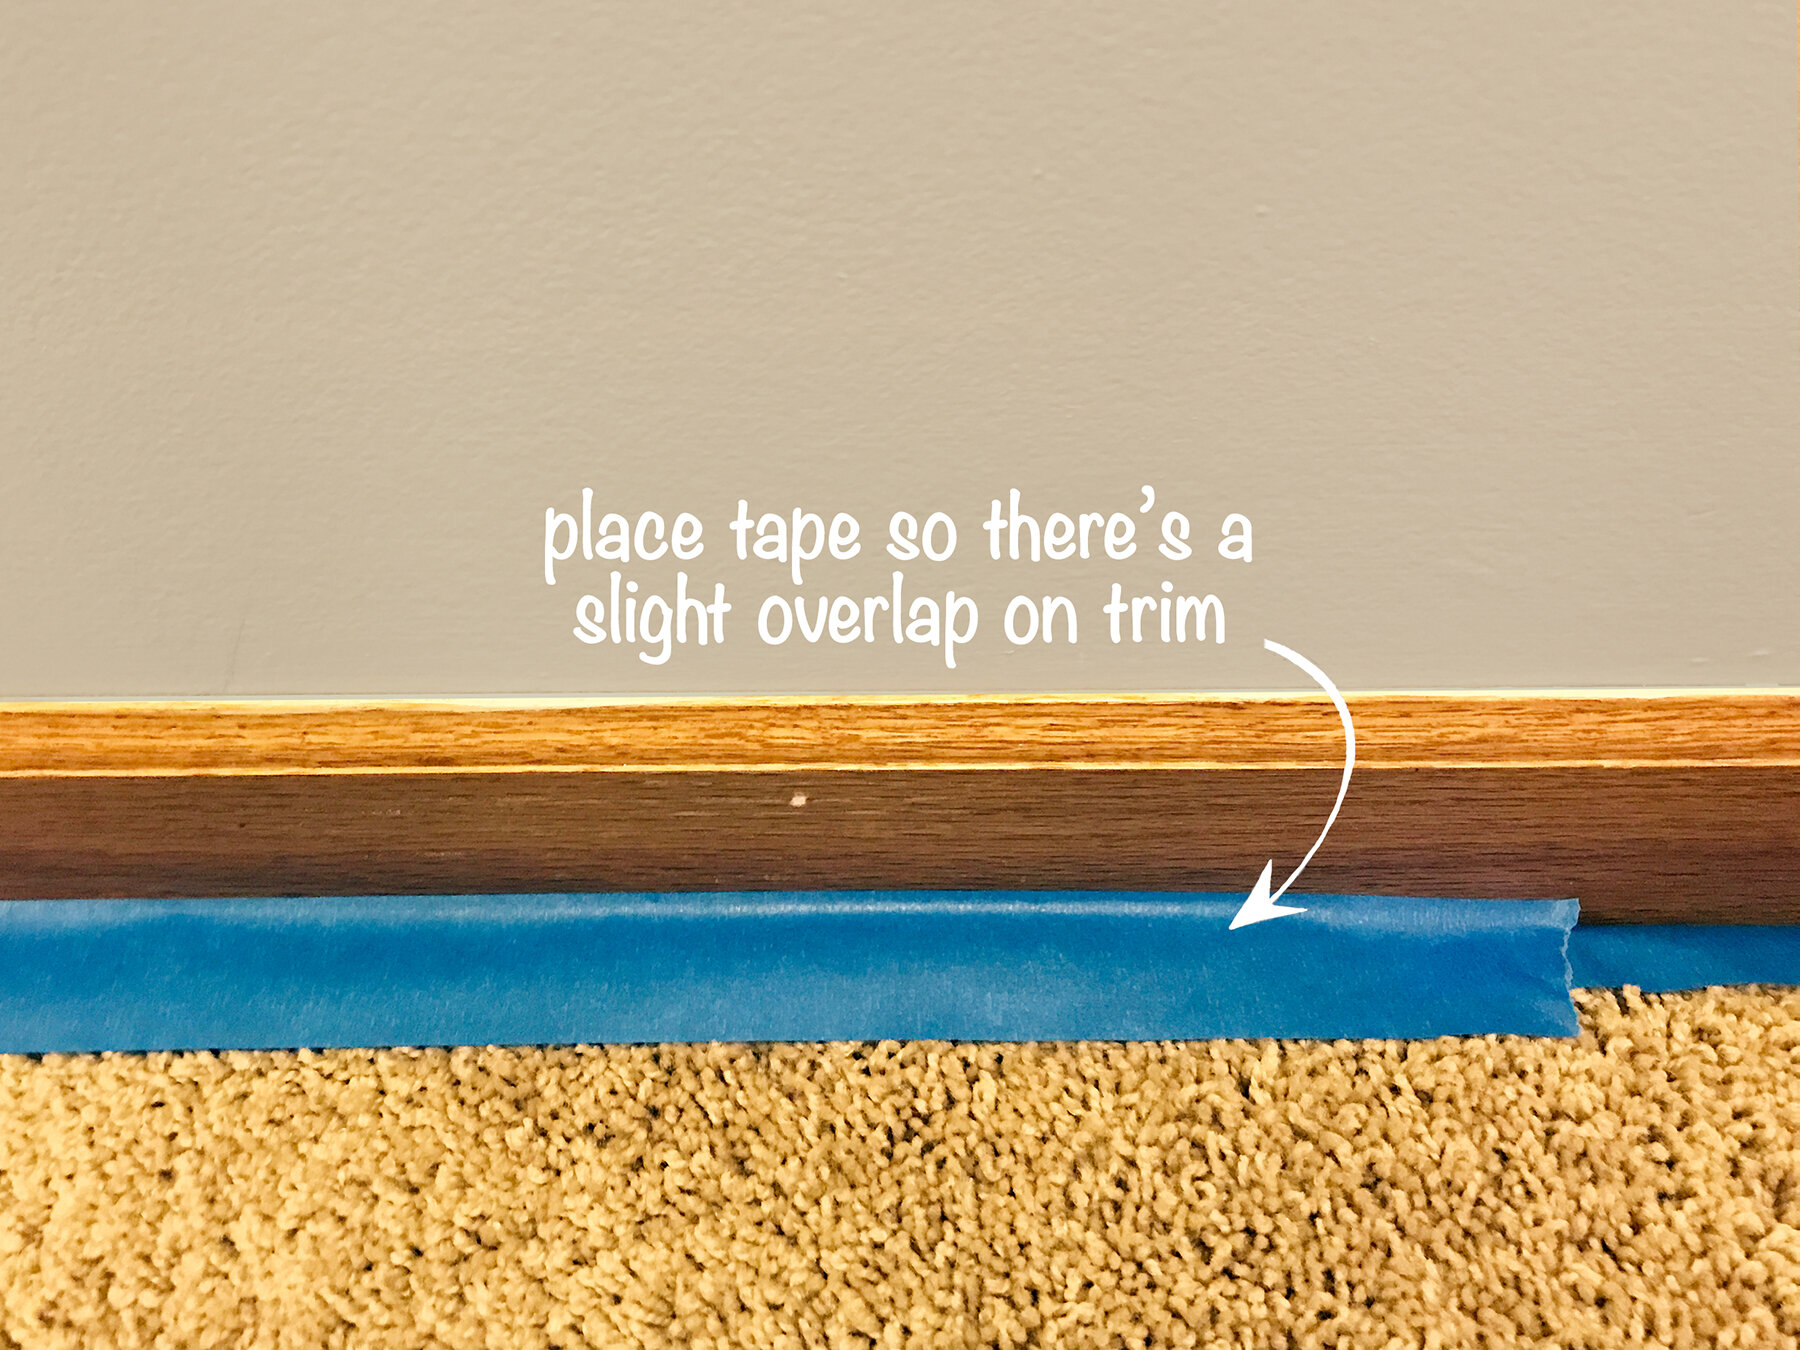
With my large putty knife, I pushed the edge of the tape down into the crevice between the carpet and trim until I could feel the putty knife slide below the trim.

When I pulled my knife out, The tape was nicely tucked into the crevice, fully protecting the carpet and creating a clean space for the paint. I leave this tape in place until the final coat is dry. You may also choose to cover your floors with a drop cloth while you're painting. (I usually don't, but I live life on the edge).
Once the floors were prepped with tape, it was time to prep the trim! I very lightly sanded the surface of the trim just to knock down the sheen a bit. Then, it's time for the fun part - the painting! I cut in carefully along the trim where it met the walls and used long, even brush strokes to apply a light coat of paint. The paint I use does a great job of covering wood grain and drying with a nice, glossy finish. You have to be careful not to brush it once it's started to set up and dry. If you use a few thin, even coats, the paint self-levels across the surface, filling some of the wood grain and drying with a smooth finish.

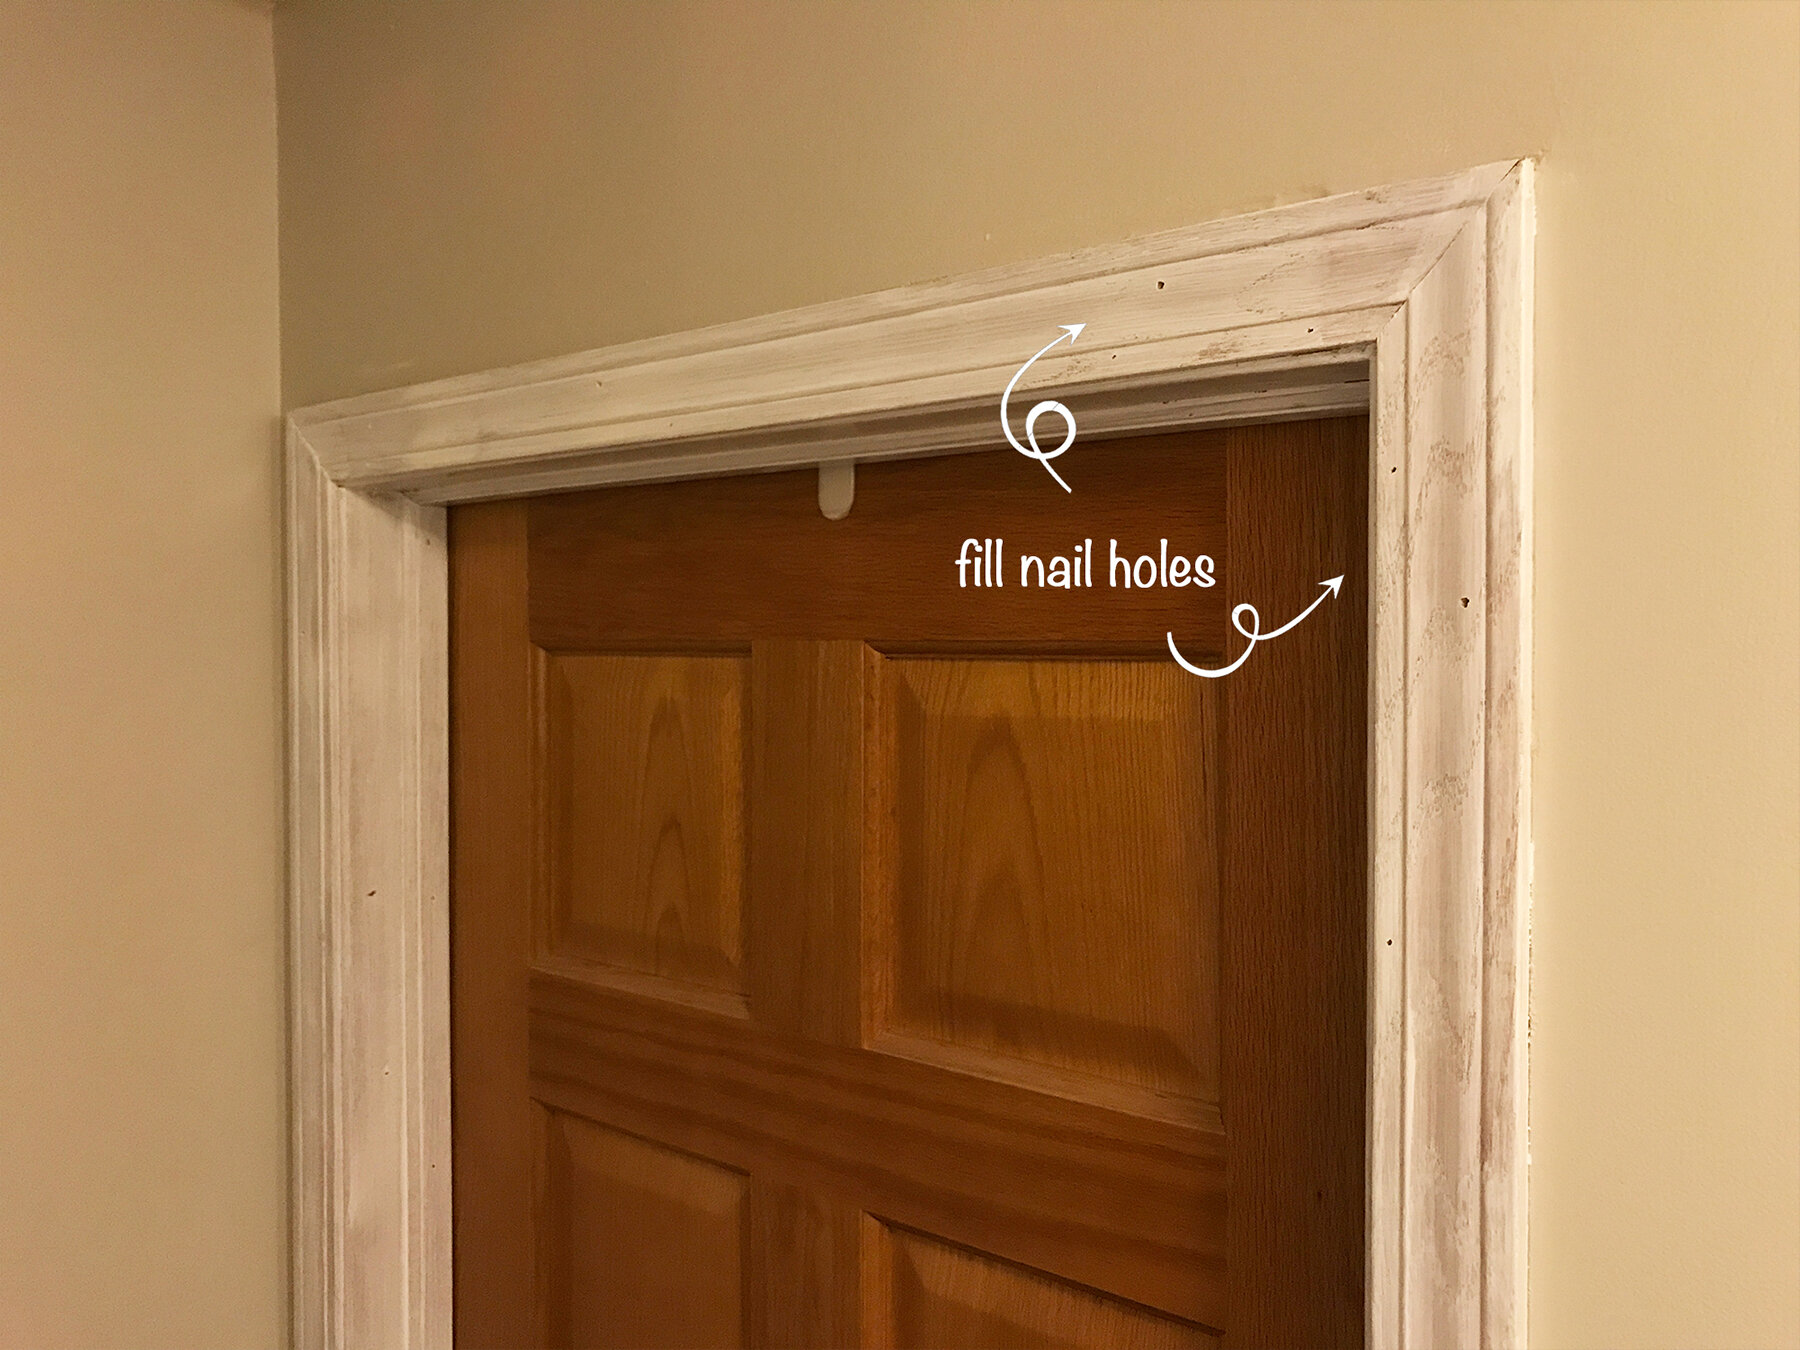
Sometimes things get worse before they get better and this is one of those times. The first coat is not pretty. That initial coat of paint makes all the nail holes and gaps stand out so it's easy to locate all the spots that should be filled.

After the first coat has dried, I went through and caulked all the gaps between the trim and the wall with paintable caulk and filled the nail holes and joints with wood putty.
Once that was dry, it's time for a 2nd coat. And a 3rd coat. And maybe sometimes a 4th coat (but I promise it's not that bad).

So with a few hours of work, I had white, clean and more modern-looking trim. It's amazing how much brighter and bigger the hallway feels with the trim painted white. It's such a simple change and it makes a huge impact! I can usually finish a whole room (or hallway) in 1-2 evenings.
What do you think? Do you have wood trim in your home that you'd like to paint? If you're sitting there thinking "maybe I should do this" let me just take this opportunity to say YES DO IT. Pick a small room to start out and just go for it. You can do it!!